CANNING 101
Putting Up Your Harvest For The Season
The canning food preservation method is great practice for self-reliance and an excellent way to put up your excess bounty for later enjoyment.
Here we will go over the necessary equipment required for canning your fresh food into creations that will brighten the cold, dark months. We will also go over a non-comprehensive (very basic) step-by-step process of water bath canning, just so you have an idea of what you’ll be getting into.
There are two types of canning methods that we will briefly cover, each with a specific purpose:
1. WATER BATH CANNING
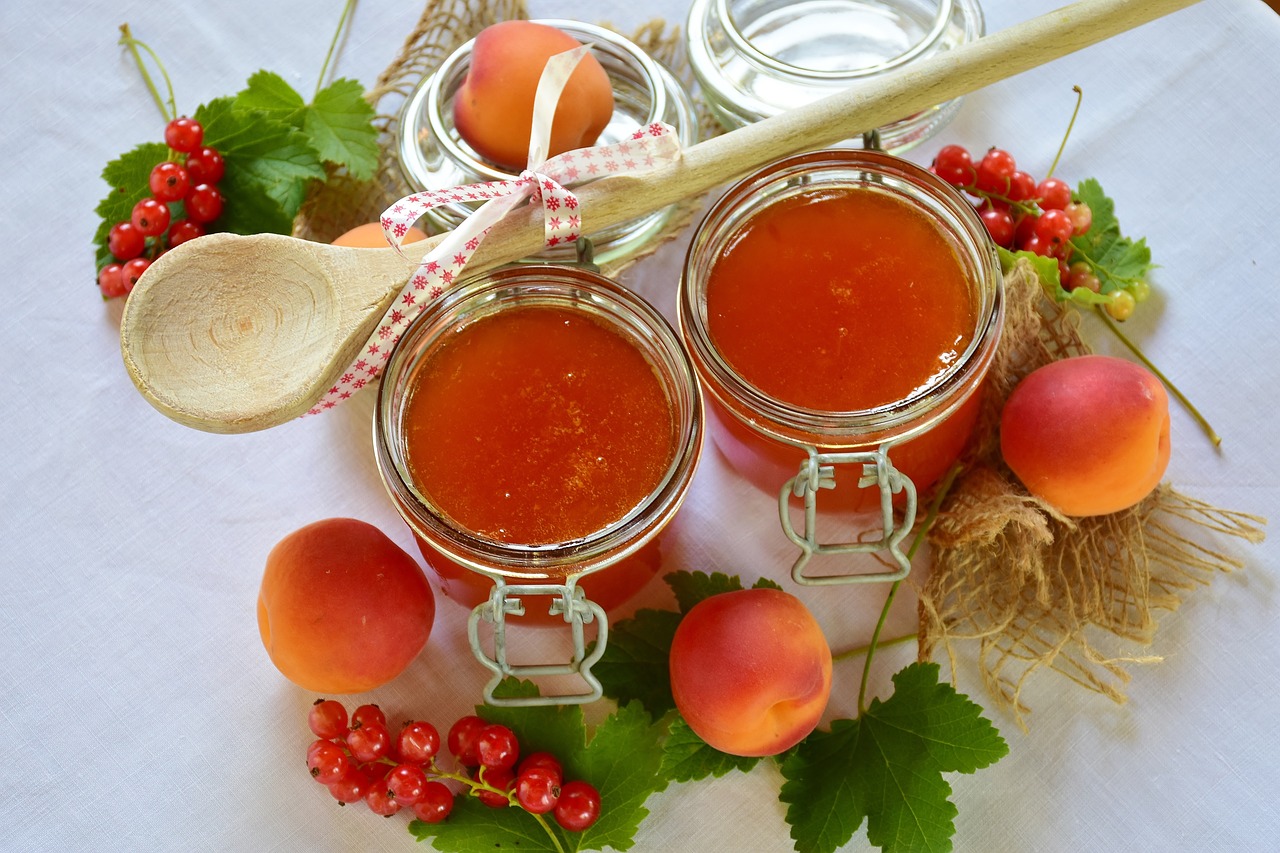
This is the most commonly used method of canning and is perfect for those just starting to learn about food preservation. With this method, you can do high-acid foods which include jams, jellies, pickles, sauces, and salsa. To kill the bacteria that can cause the food to spoil, water bath canning is done at the boiling point of water, or 212˚f
- You’ll need a good-sized stockpot with a lid for processing. Typically, a 21.5 quart is the most common size for canning. Enameled stockpots are a relatively inexpensive option, however, you can use any stockpot in your home for making small batches, as long as you have 1-2” of water covering the tops of your canning jars during processing.
- Always be sure to process your food at the proper length of time according to your recipe.
A canning rack is necessary to keep the jars from touching the bottom of the pot, and to help keep them all in place.
2. PRESSURE CANNING
This is the second method and is different from water bath canning. To kill the
bacteria that can cause botulism, you must utilize the high pressure from the steam in the pressure canner to bring the temperature up to 240˚ F. Foods commonly canned by the pressure canner method are low-acid foods such as vegetables, meats,
and stews. Always be sure to follow the exact instructions when using your pressure canner.
The All American Pressure Canner is a somewhat costly investment, but is a well-recommended, high-quality, reliable pressure canner that requires no gaskets, but rather a metal on metal seal. The dial gauge must be tested once a year for accuracy. In order to kill the bacteria that can emit toxins in your food, ensure that you are maintaining the proper temperature while using the dial gauge in tandem with the pressure regulator weight when processing.
*Please note: Pressure canning is not recommended for a glass stovetop, as you run the risk of the weight damaging or cracking the surface*
You’ll need clean, undamaged canning jars with new lids (Ball and Kerr brands are readily available at most retailers), and undamaged metal canning rings. Jars range in size from 4oz - 1/2 gallon, depending on what you’ll need for your recipe or preference. If you’re looking for a reusable canning lid rather than throwing them away each time, there is a brand called Tattler that has reusable BPA-free plastic lids with reusable gaskets.
GETTING STARTED: SUPPLIES
If you have a well-stocked kitchen, you may already have some of the basic supplies that you’ll need
to get started. Being prepared and having all your ingredients and supplies cleaned and set up can eliminate stress in the middle of the process.
A lid and jar lifter is an absolute must. The lid lifter is magnetic, so you can easily pick up your lids one by one to place on your hot-filled jars. The jar lifter allows for steady transport, keeps your jars as level as possible, and keeps your hand away from the hot water.
Water Bath Canning Step-by-Step Guideline:
Step 1: Set up and clean the work area and supplies.
Step 2: Begin jar sterilization. Simmer jars and lids separately for a minimum of 10 minutes at 180˚F. Make sure the lid bands are washed, dried, and set aside.
Step 3: Having selected your recipe in advance, prepare your food according to the instructions.
Step 4: Removing one jar at a time, pack the jars with the prepared foods as quickly and safely as you can, leaving the proper amount of headspace according to your recipe (this is usually 1/4”-1/2”).
Step 5: Wipe the rim off the jar using a clean, damp paper towel, removing any food residue or particles that may have spilled on the rim.
Step 6: Remove the sterilized lid from the simmering water and place it on top of the clean jar rim, gently aligning it properly.
Step 7: Take an unbent and undamaged band, and gently screw it onto the jar with the tips of your fingers, just until you just feel resistance. This is called “fingertip tight”, and allows for the trapped air bubbles to escape during processing.
Step 8: Place the filled jar carefully back into the water bath with your jar lifter. You might have to remove some of the water from the canner with a heat-resistant measuring cup as you go along, as the water will be displaced by the freshly filled jars. Be sure to maintain at least 1” of water over the top of your jars when processing.
Step 9: Place the lid on the canner, and bring it to 212˚F, or the boiling point. Once you reach this temperature, you can start timing according to the recipe; generally, this takes 10-15 minutes for most pickles, jams, and jellies.
Step 10: Carefully remove jars from the water bath, and place them on a towel-lined counter, letting them remain undisturbed for 12-24 hours.
Step 11: Check your seals by touching the tops of the lids (if they are concave and don’t bounce back, they are good). You should also check the seals by unscrewing the ring, and lifting the jar by the lid with your fingertips. If the seal is good, it will hold.
Step 12: Re-process any jars that haven’t been sealed with new clean lids, or place in the refrigerator and consume them within a week. Store the jars in a cool, dark place for up to a year after canning.